#ChristmasEve sentiment analysis
In this blog we dive into how we can detect the sentiment for a Twitter Hastag. When writing this it is the day before Christmas eve and #ChristmasEve is a trending topic. Perfect to find out if twitter users are positive or negative about Christmas eve.
I looked into a way of doing this using no-code, after a bit of research I found out that Logic App & the Text Analytics API from the MS Cognitive services and PowerBI could do the trick.
Logic Apps
Logic Apps are great for creating automating workflows. There is no need to put in any, you can just click your workflow together. A lot of connectors are available that makes it possible to create something without a single line of code. Logic apps are billed per execution that makes it very flexible and you are not stuck with monthly costs.
Text Analytics API
The Text Analytics API can detect 3 things from your text.
- Sentiment The API returns a numeric score between 0 and 1. Scores close to 1 indicate a positive sentiment, and scores close to 0 indicate a negative sentiment. The sentiment score is generated using classification techniques. The input features of the classifier include n-grams, features generated from part-of-speech tags and word embeds. It is supported in a variety of languages.
- Key phrases The API returns a list of strings denoting the key talking points in the input text.
- Language The API returns the detected language and a numeric score between 0 and 1. Scores close to 1 indicate with 100% certainty that the identified language is true. A total of 120 languages are supported.
Be aware if you want to know all 3 things, they are separate calls and you are billed 3 times.
The usage of the API is very simple. Create an API endpoint in Azure. Get your subscription key and post the text you want to analyse to the endpoint.
The Solution
The steps below show how to create the workflow, from getting the twitter data in to storing it in an Azure Table.
Step 1 - Create the Azure assets
First create the Azure components needed.
Step 2 - Create the Logic App workflow
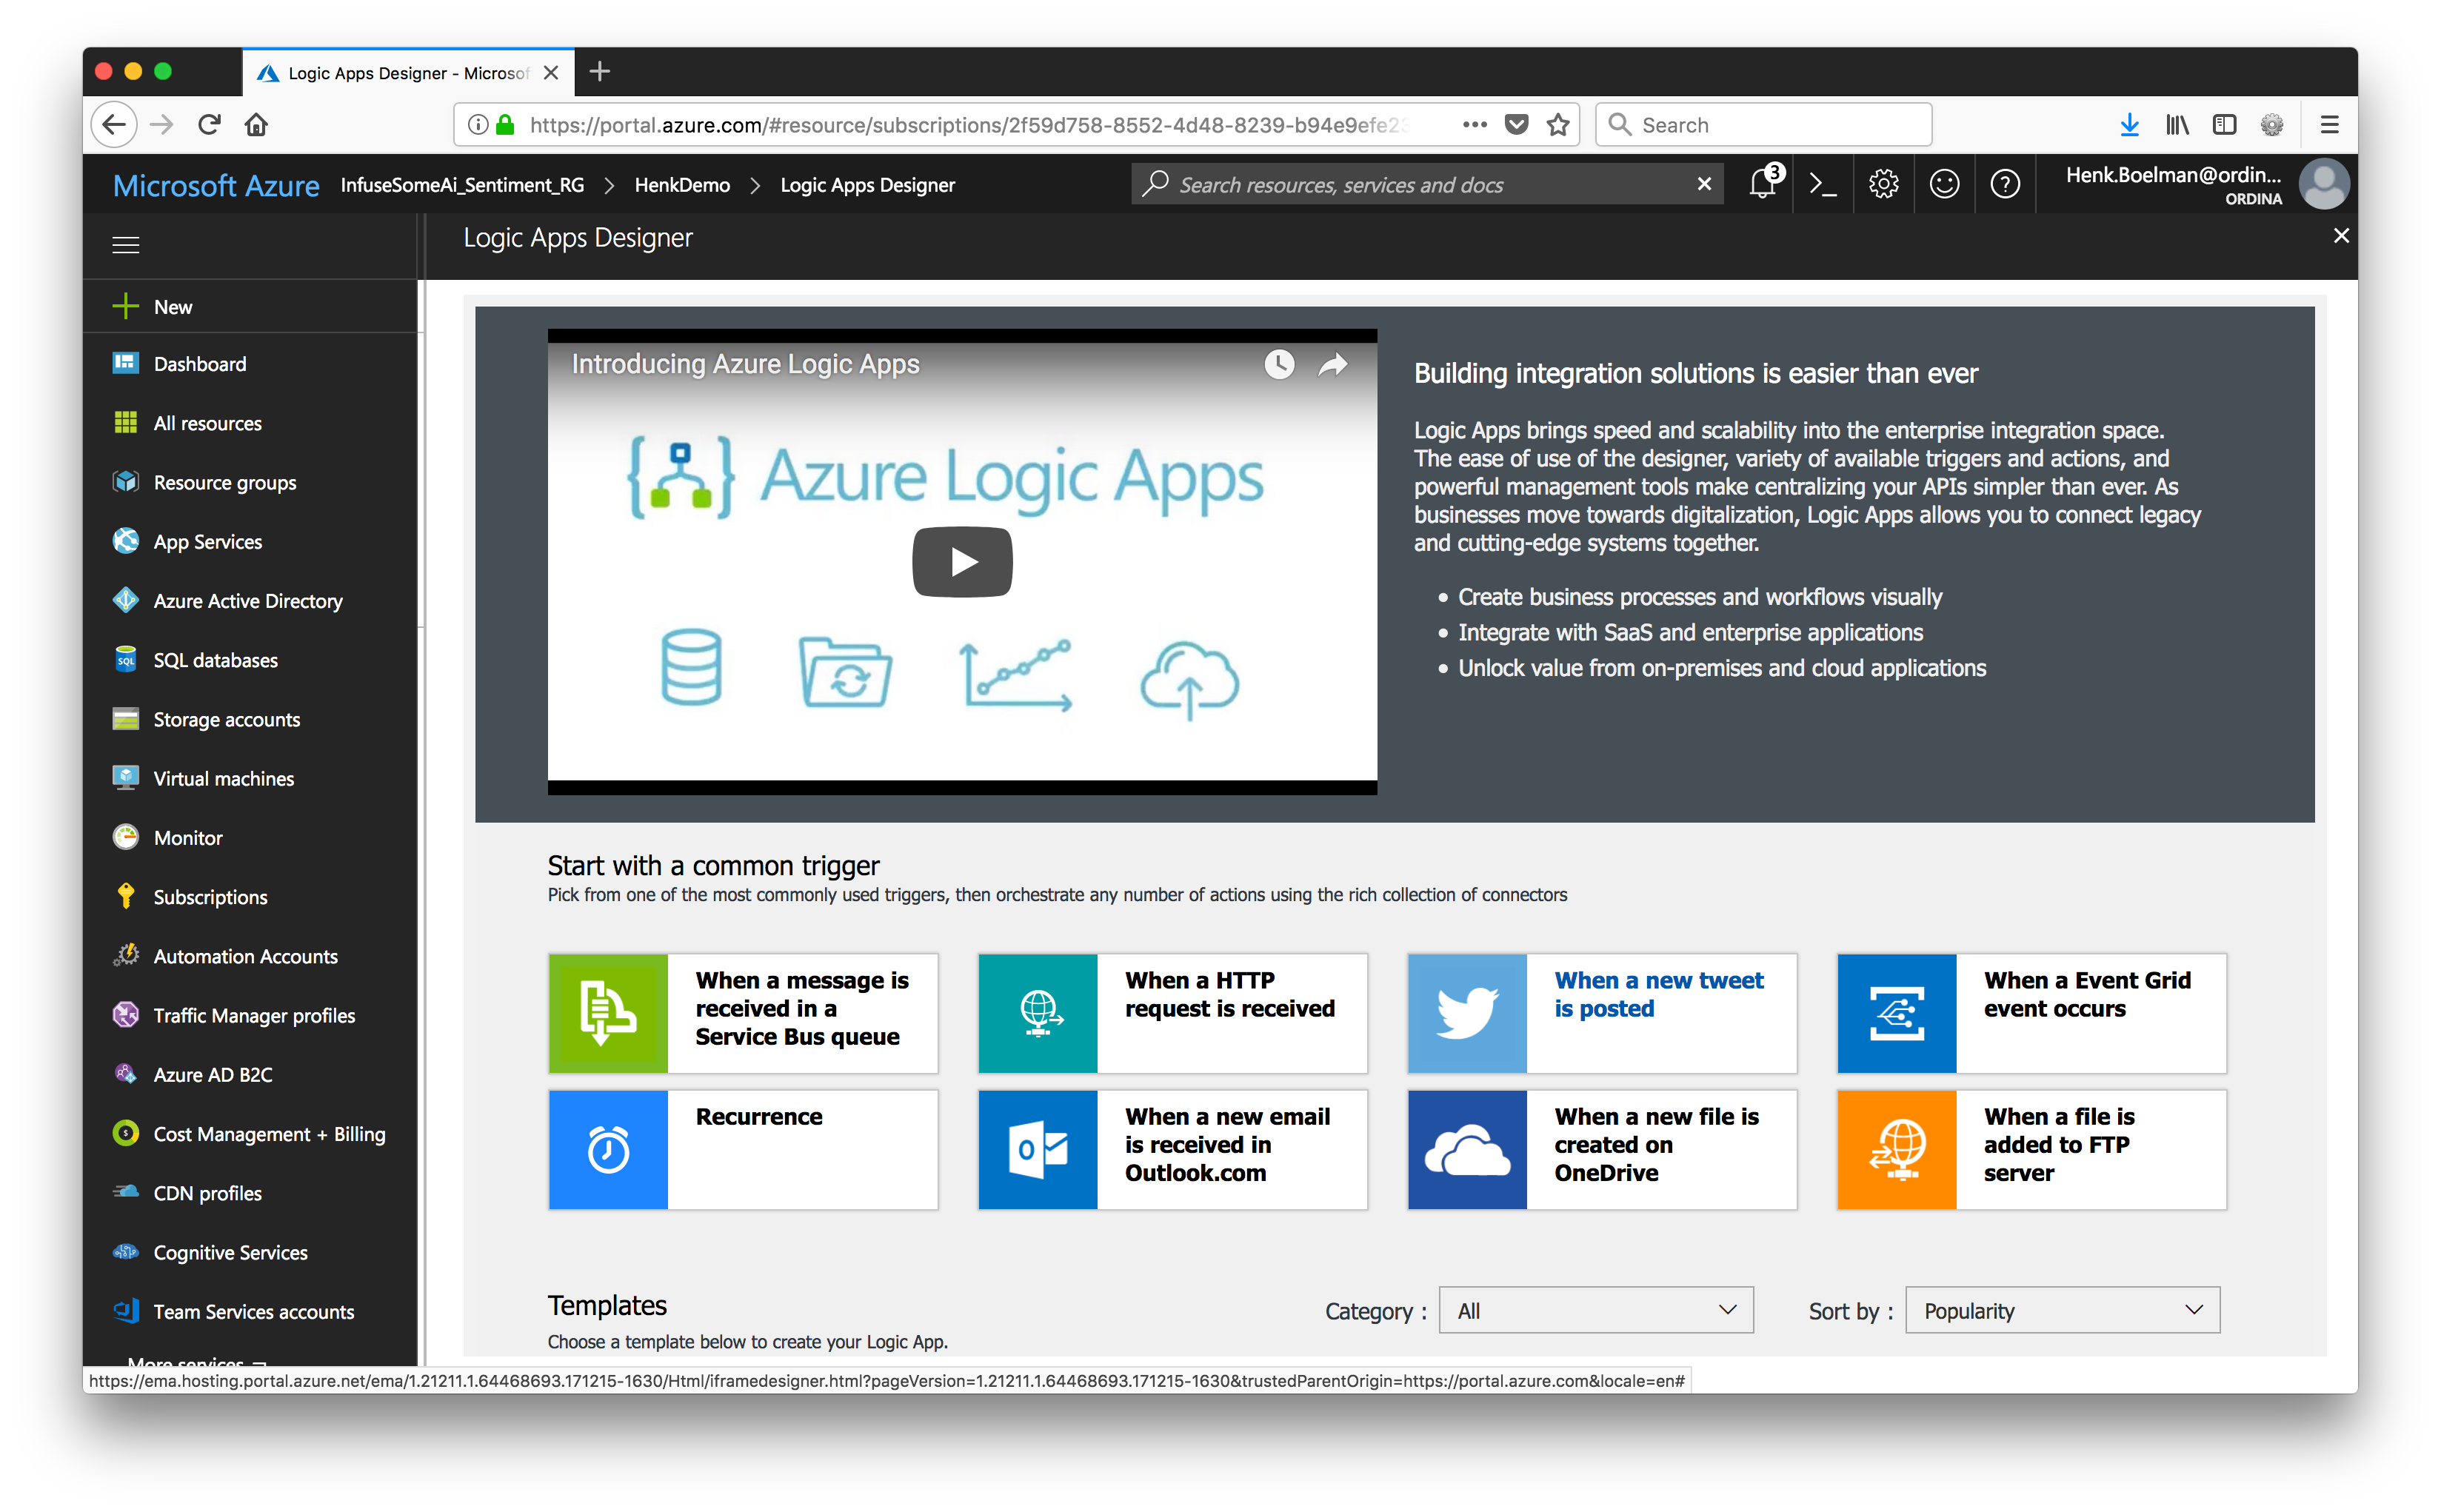
To create a workflow for your logic app open the 'Logic Apps Designer'.
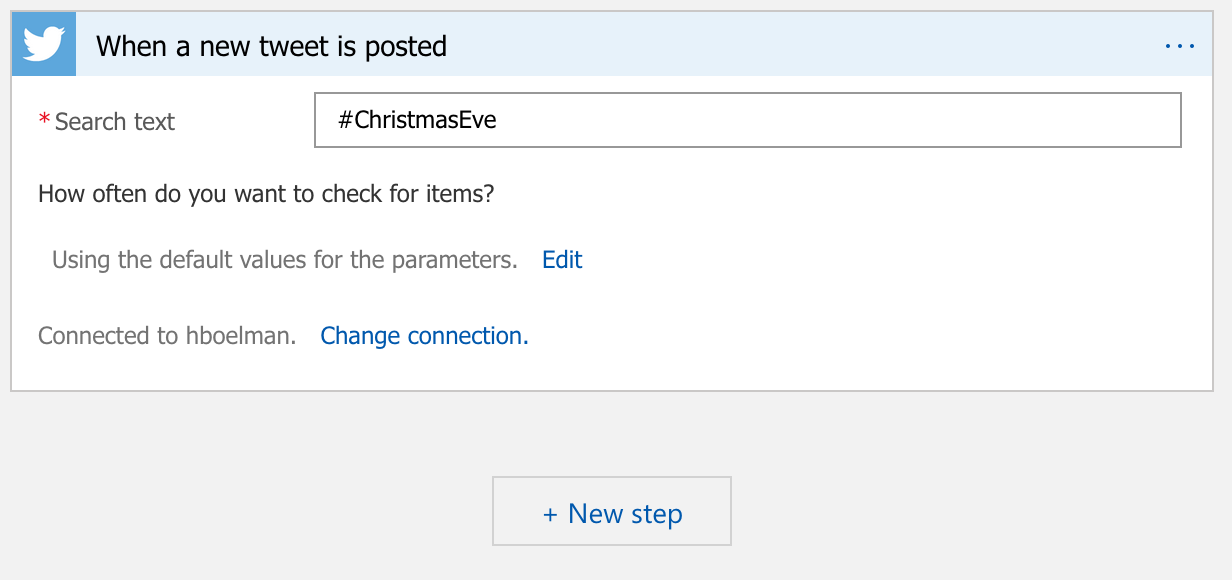
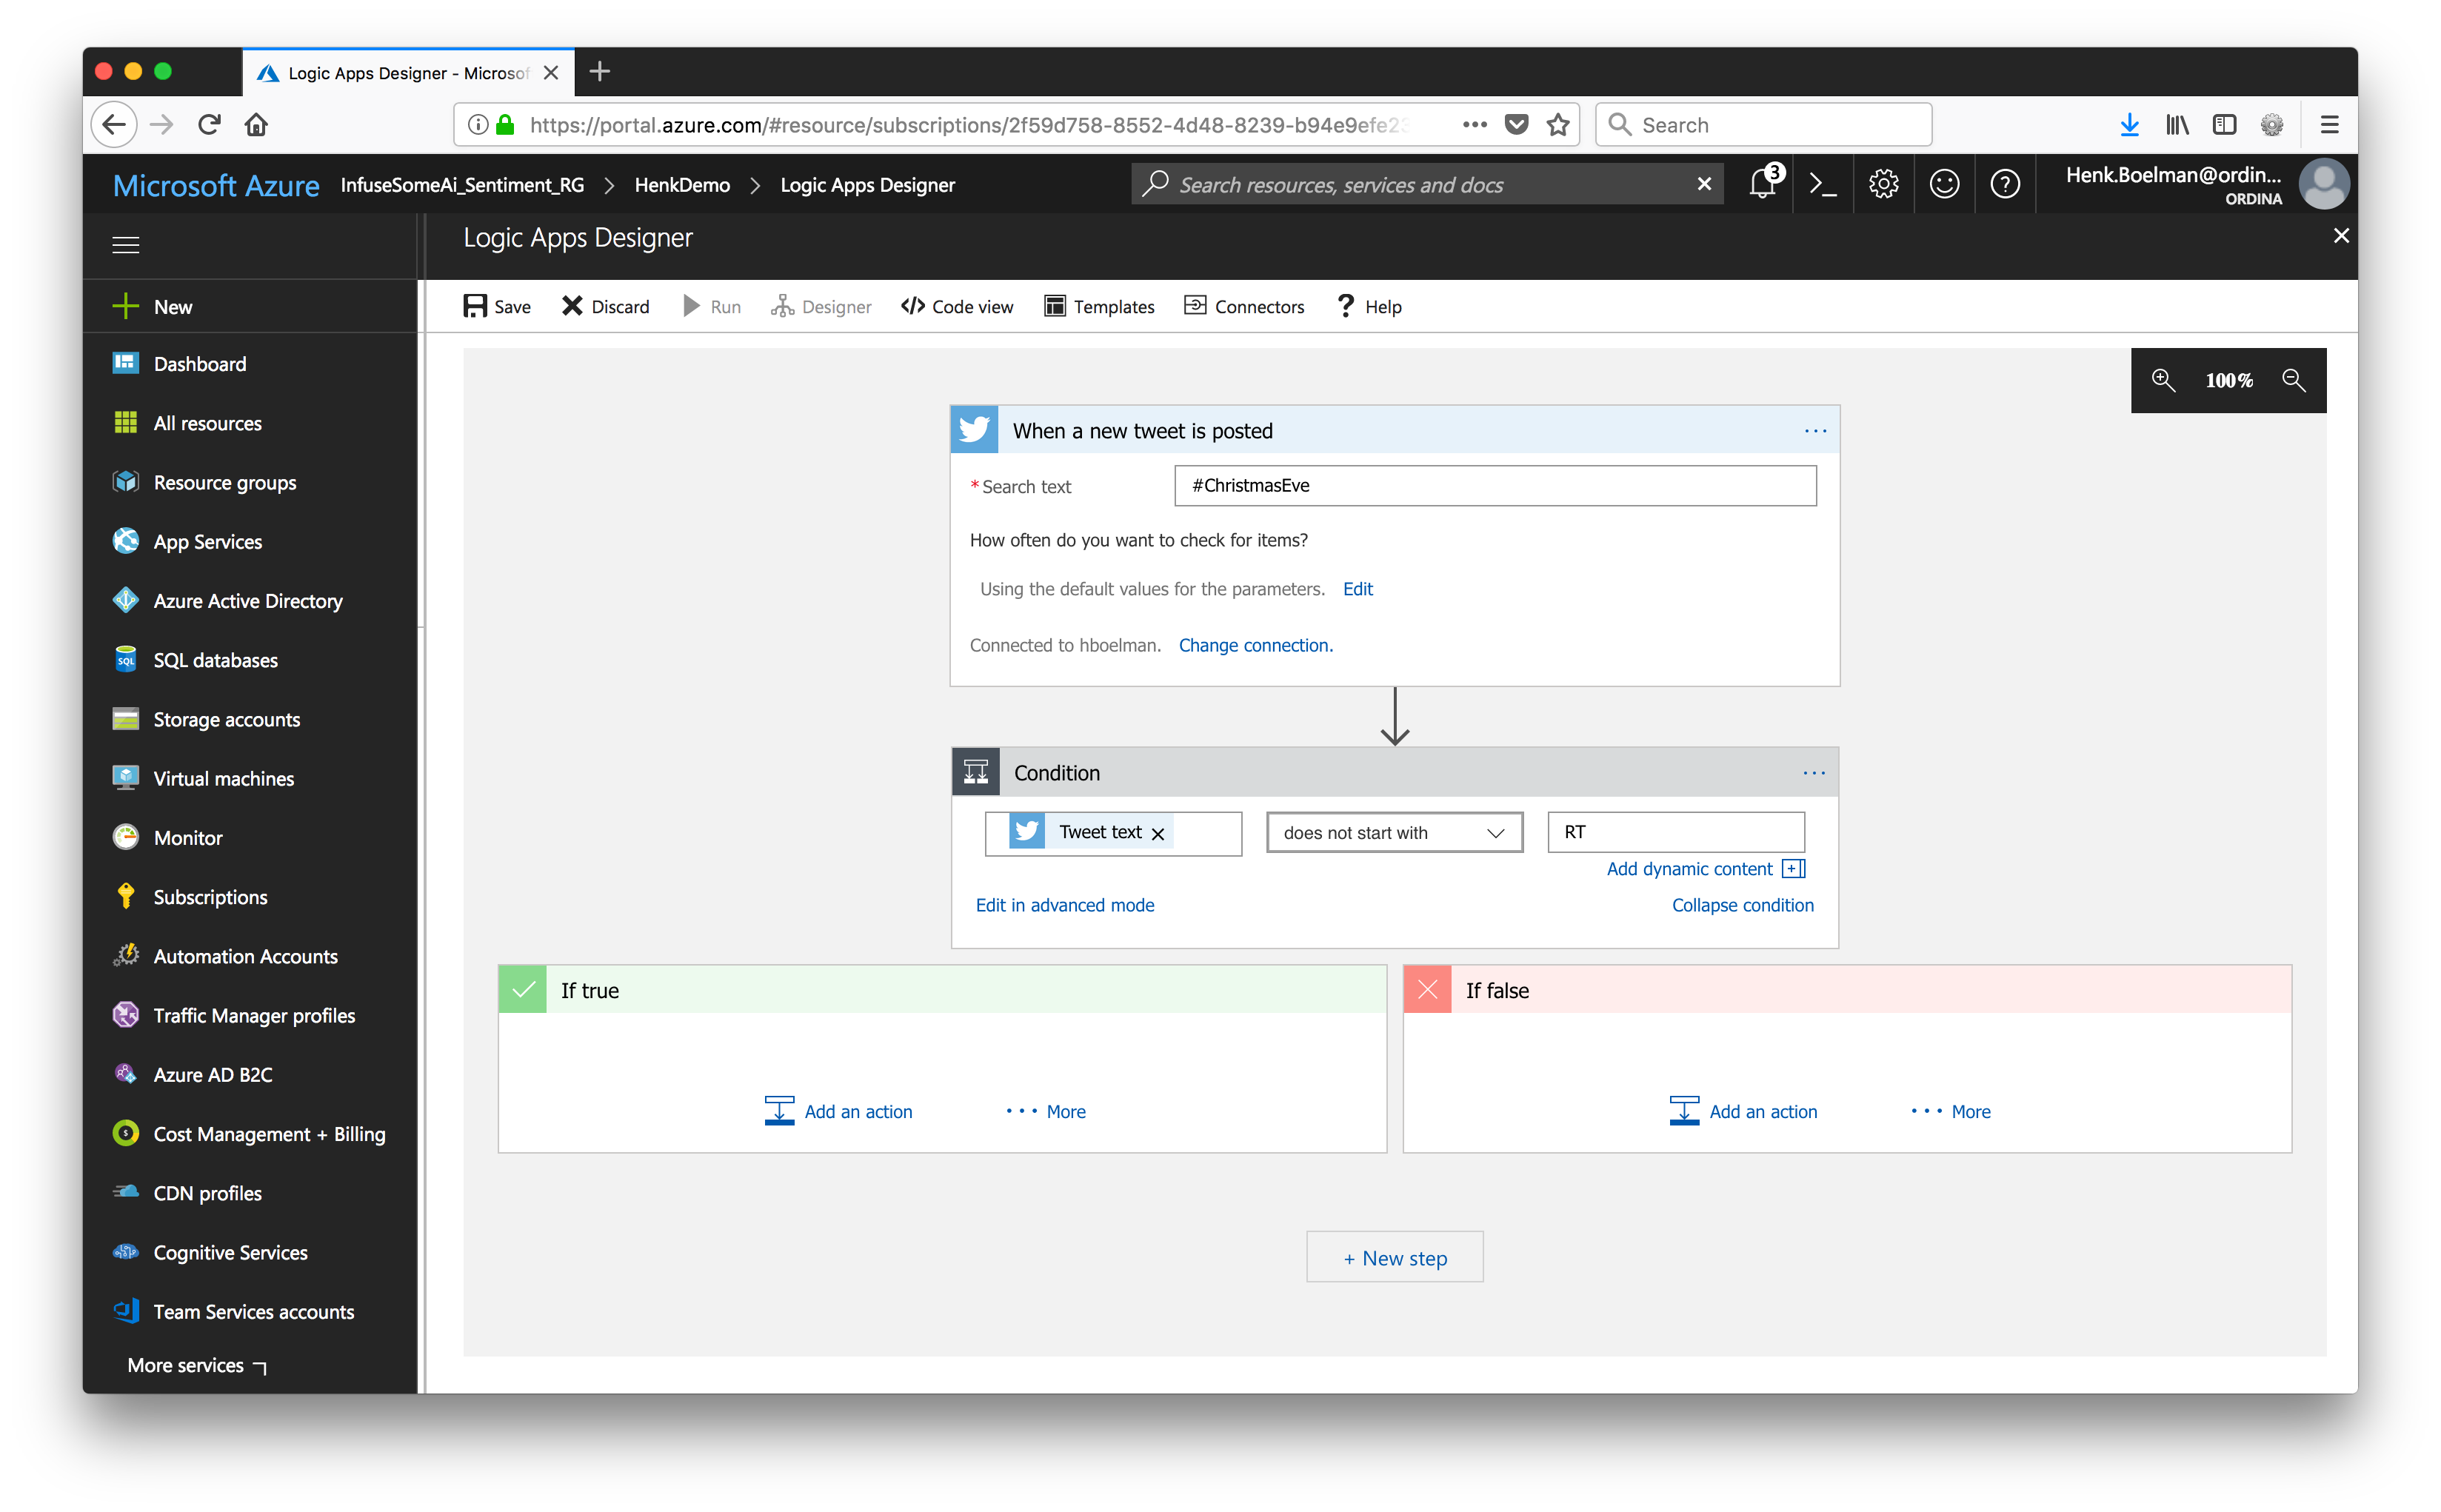
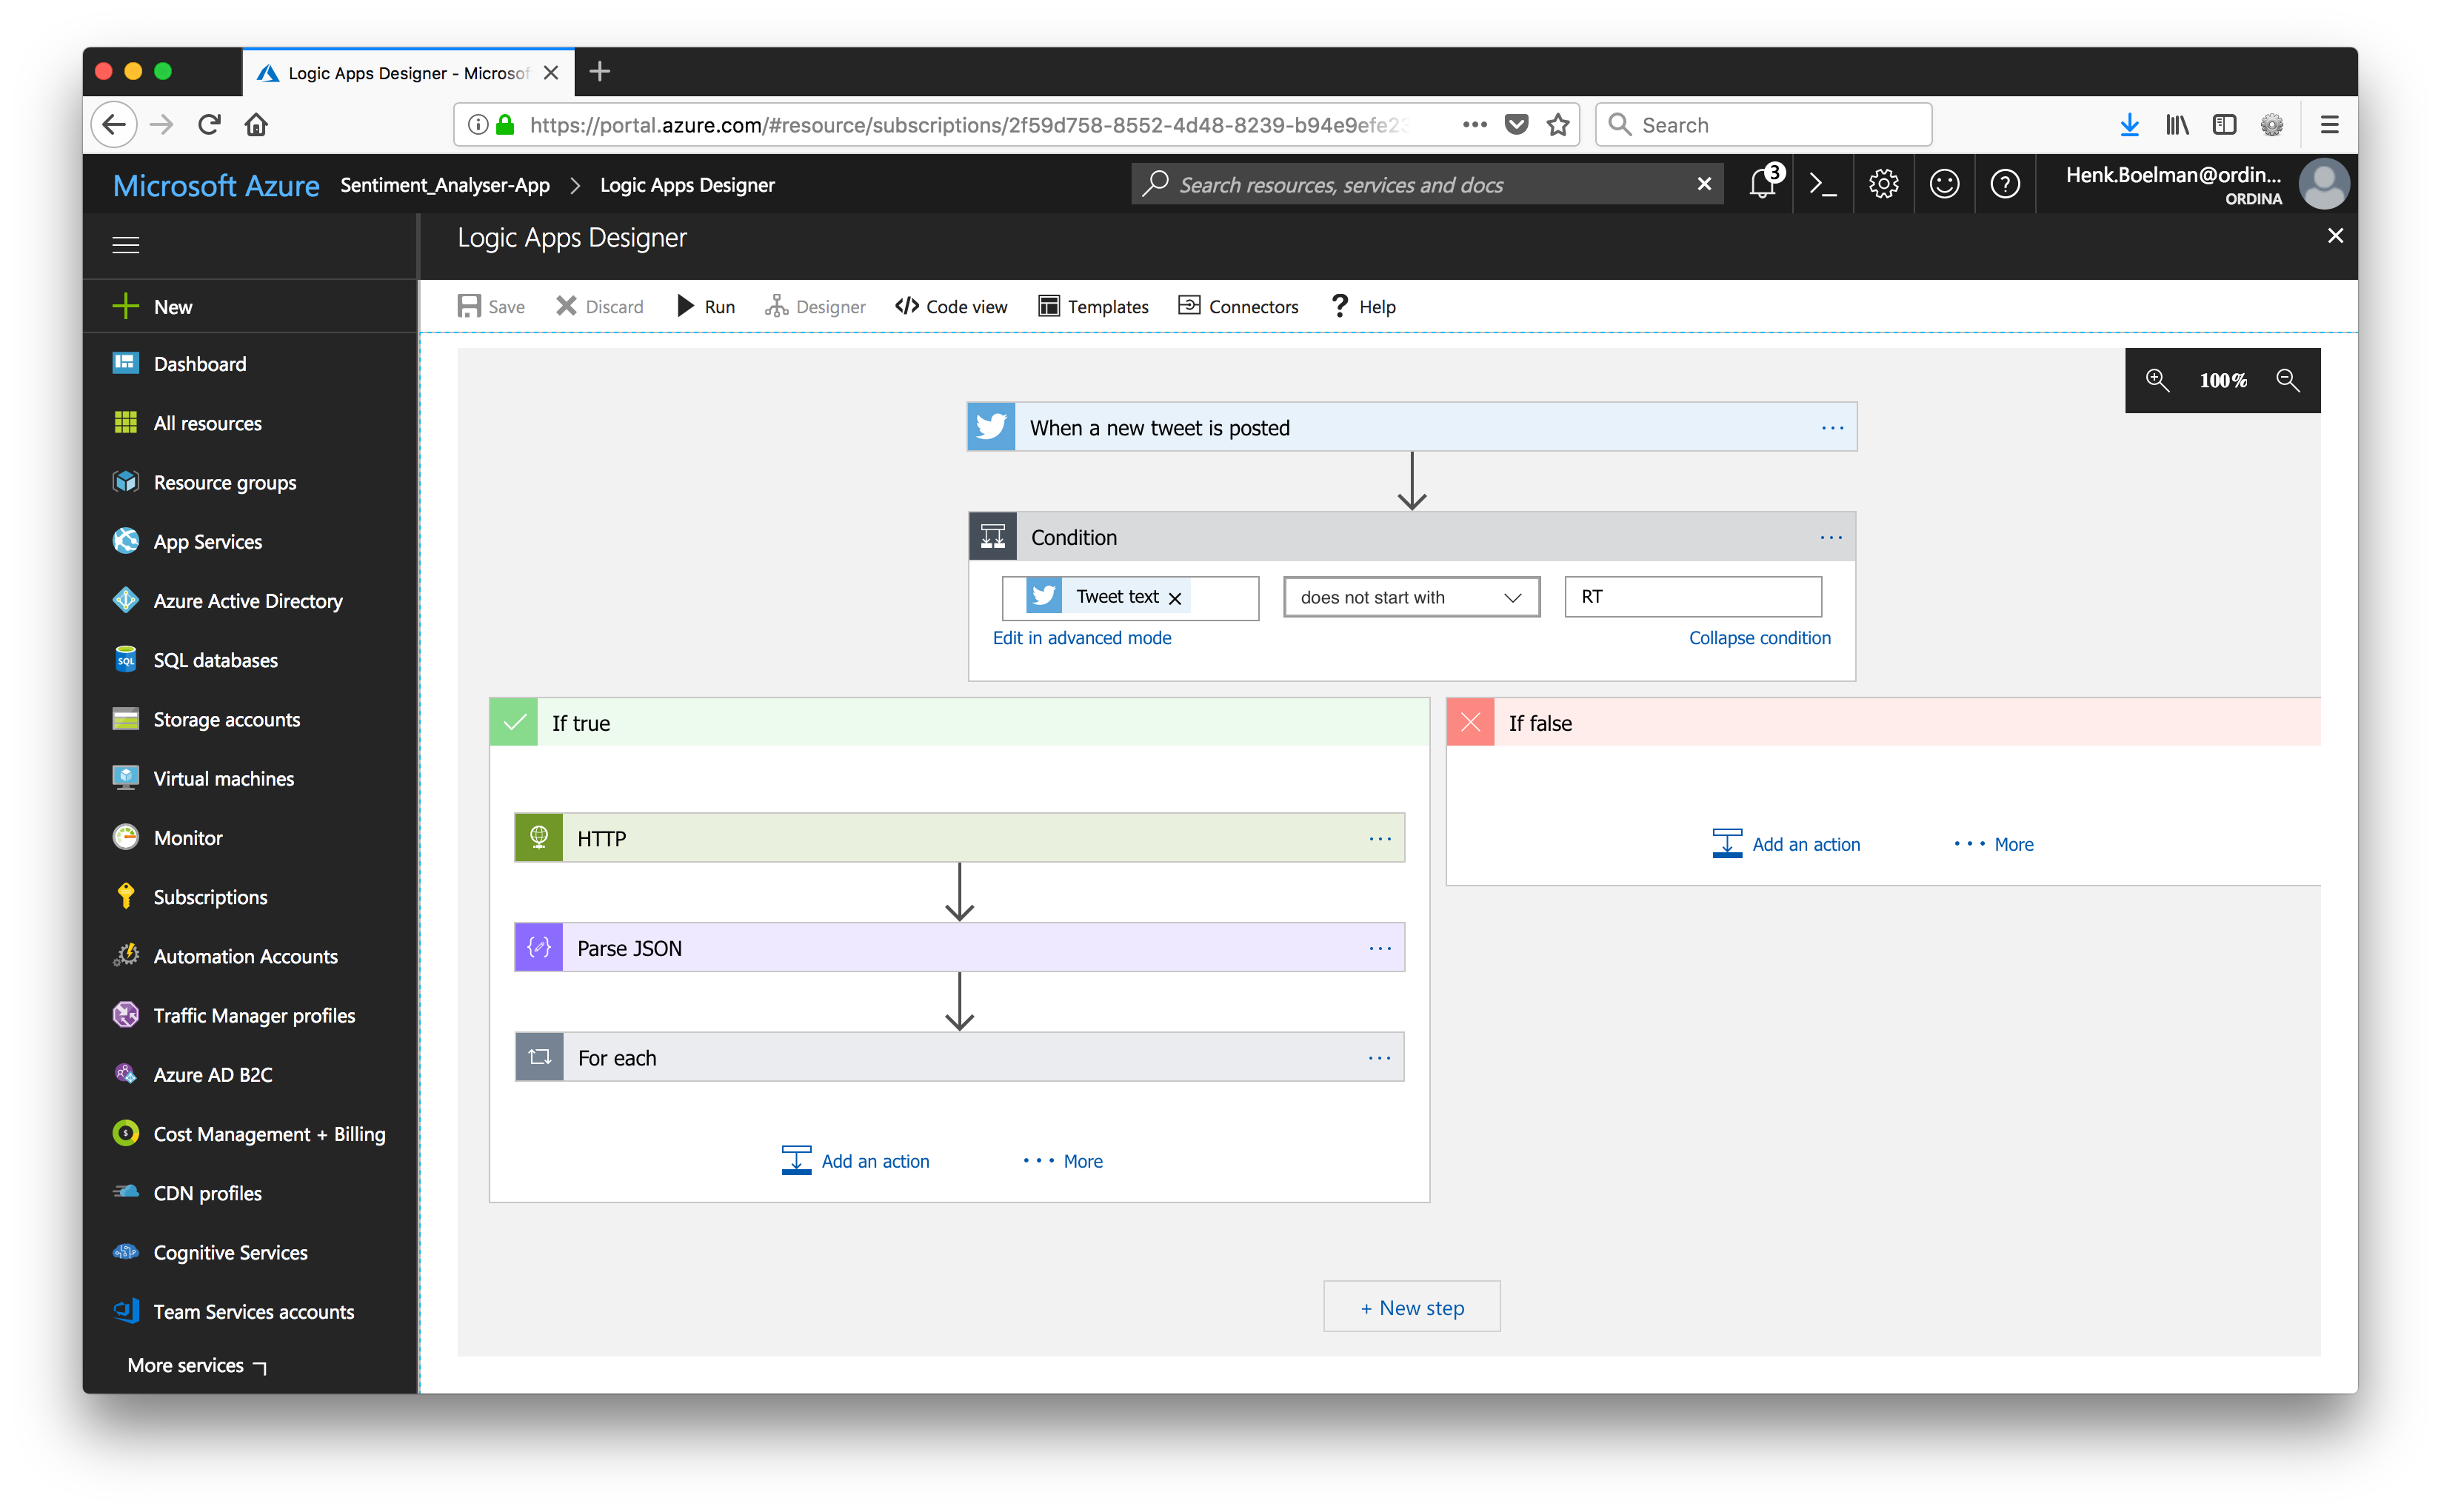
1 - Twitter connector Click "When a new tweet is posted", when the screen opens authorize the logic app to use your twitter.
When the connection is successfull you will see the screen below, in the search textbox you can enter your search query. This can be anything that you can put into twitter.com/search.
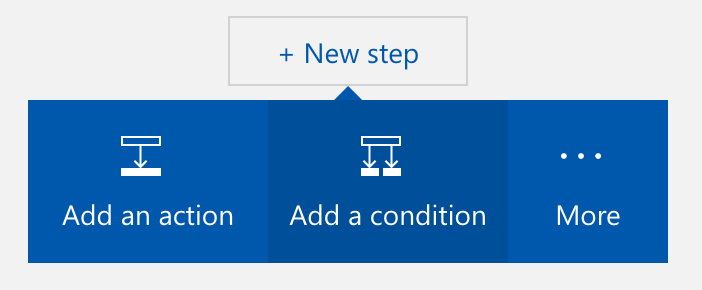
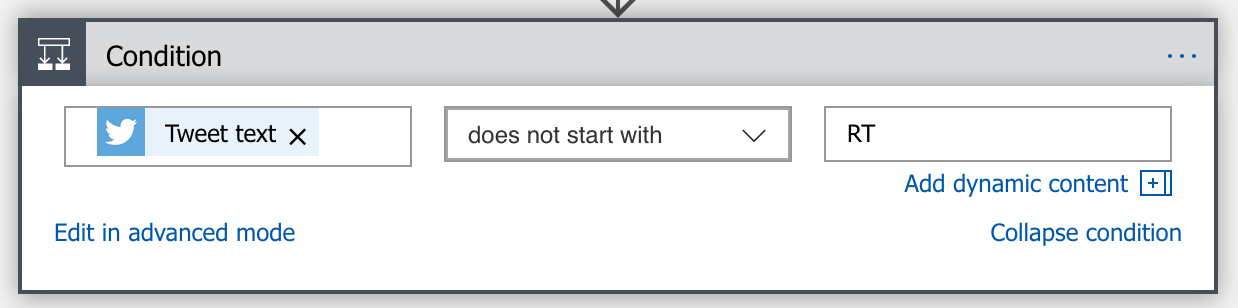
2 - Filter out re-tweets To measure the sentiment it is nice to only have the tweets directly from the user and not the retweets, this can be easily done by clicking the button "New step" and "Add condition"
You will see that a step has been added to the workflow with on top a block where you can add the condition and below 2 blocks for if the condition is true or false.
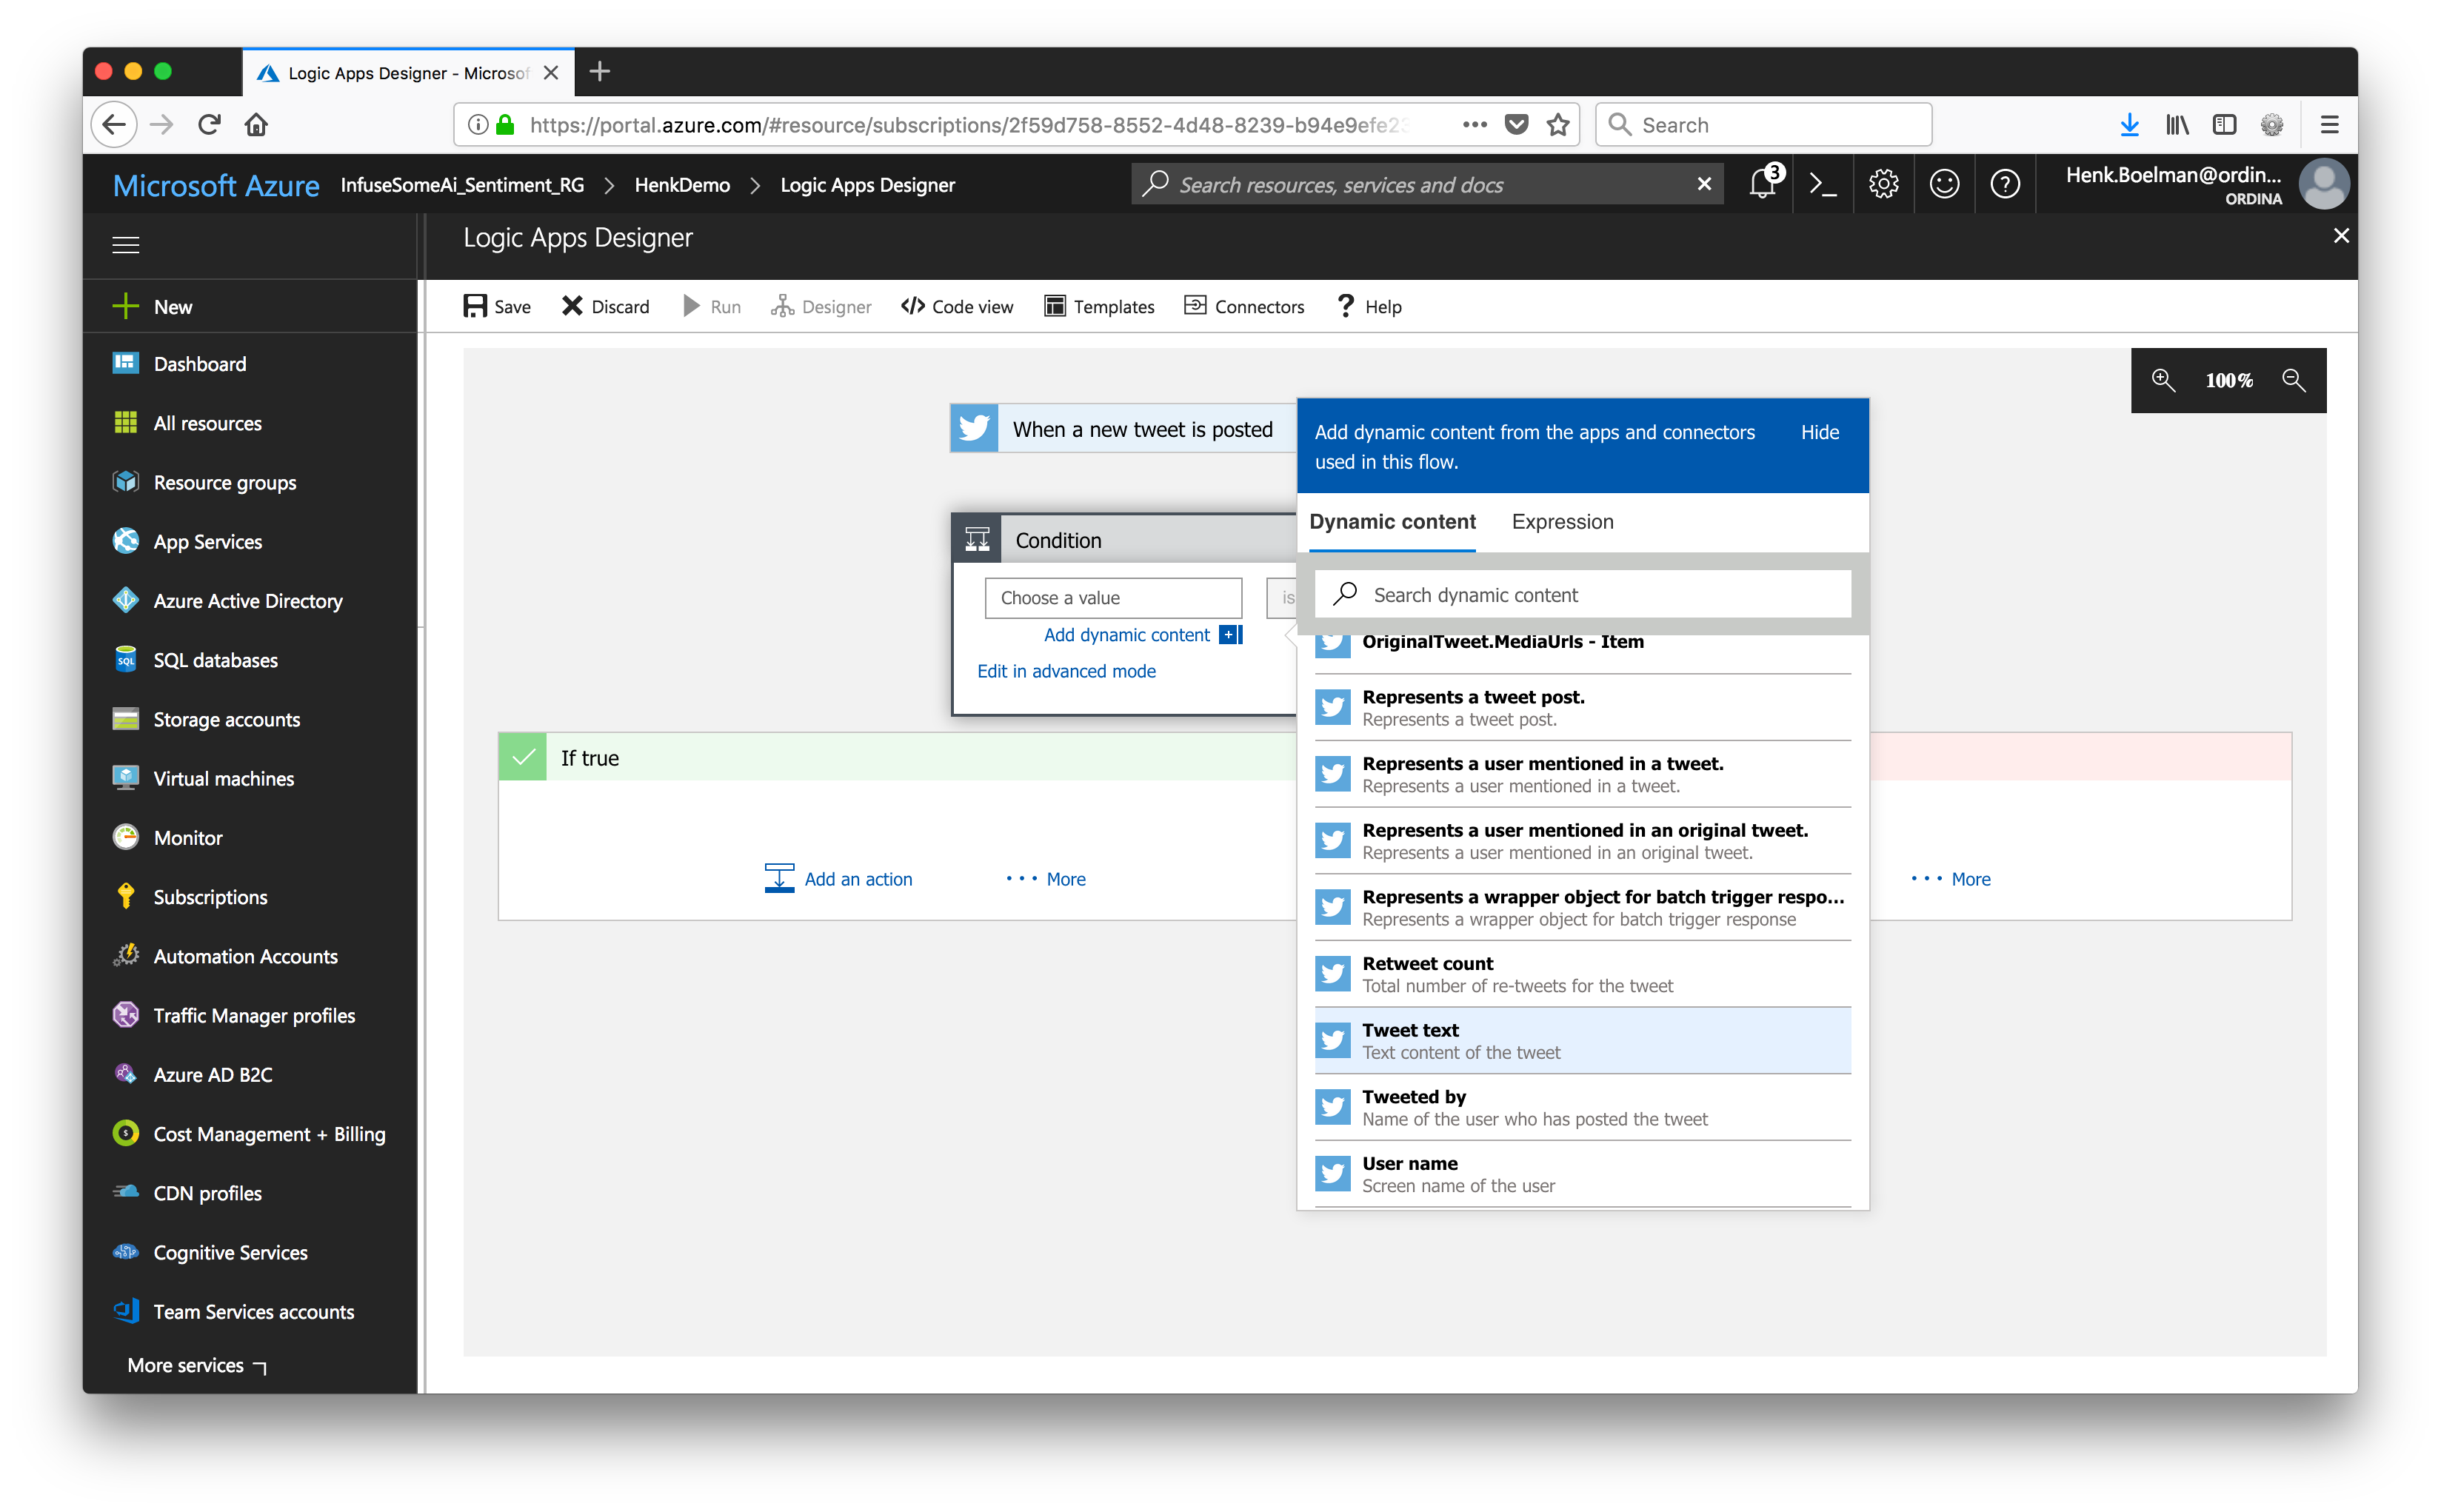
Logic app are great because it knows the outcome of the previous steps, by simple clicking on the "choose a value" textbox dialog opens and you can select a value. Select here "Tweet Text" in the next box "does not start with" in the last textbox type RT in capitals, RT meaning Retweet. Your condition should look like the image below.
Your logic app should look like the image below
Sending the result to Text analytics api Now that we have the tweets we want, we can send the content to the text analytics api. In logic apps there is a step for it, but below I show you how easy it is to call a API and get the response.
Create a HTTP connector Fill in the requested fields. The information can be found in the created Text Analytics API.
URI: https://westeurope.api.cognitive.microsoft.com/text/analytics/v2.0/sentiment
Headers: Add one header named: "Ocp-Apim-Subscription-Key" at the value past the value of you Text Analytics Key.
Body
{
  "documents": [
    {
      "id": "@{triggerBody()?['TweetId']}",
      "text": "@{triggerBody()?['TweetText']}"
    }
  ]
}
Your step should look like on the image below

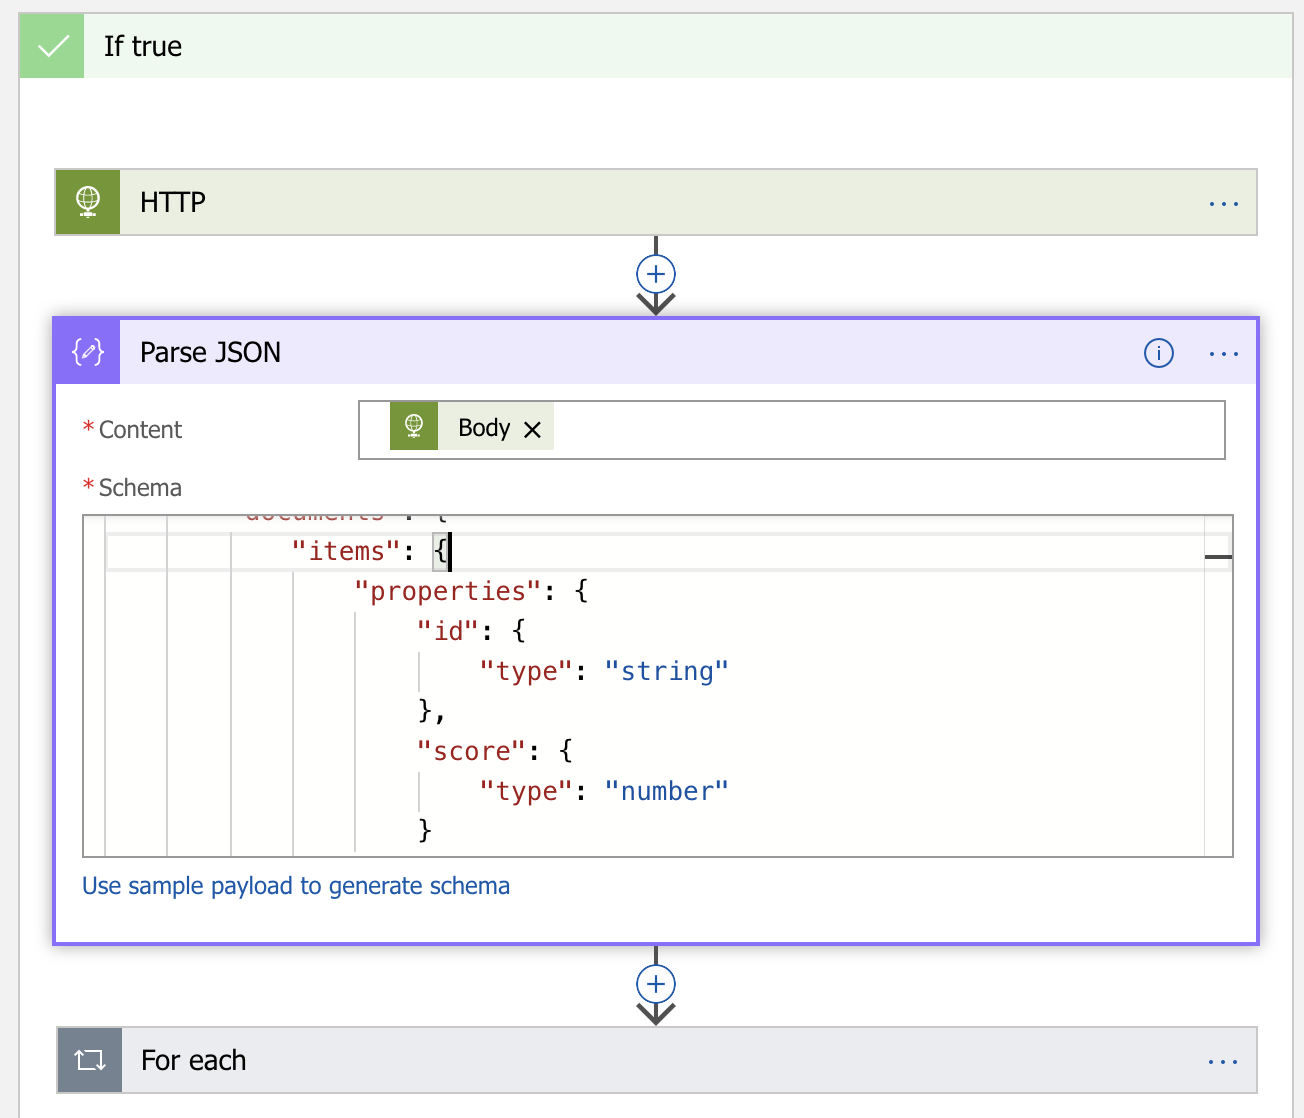
Parsing the result Now we have the response from the API in JSON format, we need to parse it to variables we can use in the rest of our workflow.
Create a "Parse JSON" step At the content field select the "body" variable from the previous step At Schema post the schema from the expected json response.
{
    "properties": {
        "documents": {
            "items": {
                "properties": {
                    "id": {
                        "type": "string"
                    },
                    "score": {
                        "type": "number"
                    }
                },
                "required": [
                    "score",
                    "id"
                ],
                "type": "object"
            },
            "type": "array"
        },
        "errors": {
            "type": "array"
        }
    },
    "type": "object"
}
As the API can return multiple documents, the logic app will automaticly create a foreach loop.
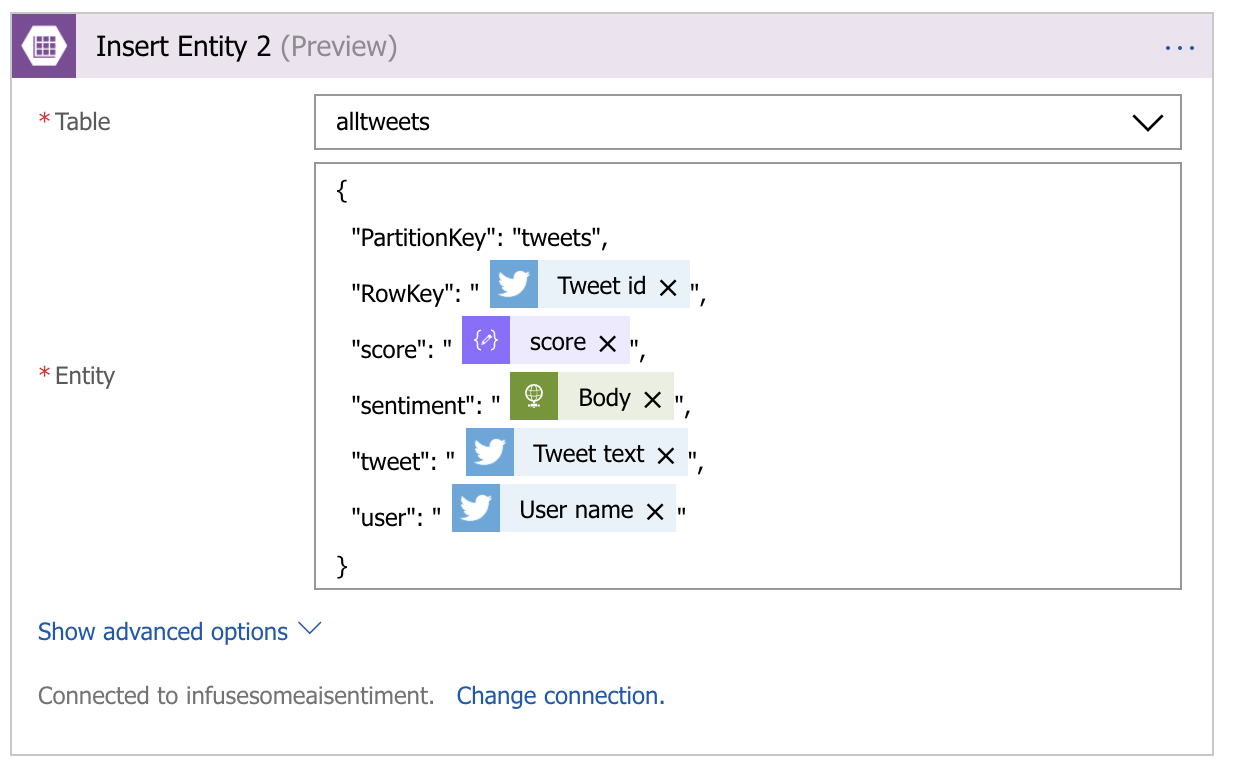
Storing the result in Azure Tables We have collected now all the tweets with hastag #ChristmasEve that are not retweets, sent them to the Text Analytics API and parsed the response JSON to variables.
Now it is time to store them, the easiest way is to store them in Azure Storage Table.
Create an "Azure Table Storage - Insert Entity" step.
First create a Table on your Storage account when you have done that, setup the connection to your Azure Storage account.
Selecte the table you want to store the data and create a JSON entity that is going to be inserted. Don't forget to insert a PartitionKey and unique RowKey.
{
  "PartitionKey": "tweets",
  "RowKey": "@{triggerBody()?['TweetId']}",
  "score": "@{items('For_each')?['score']}",
  "sentiment": "@{body('HTTP')}",
  "tweet": "@{triggerBody()?['TweetText']}",
  "user": "@{triggerBody()?['UserDetails']?['UserName']}"
}
The step should look like this:
The compleet app should look like this:
Step 3 - Run it!
All the steps are created and you are ready to run the Logic App. Save the content and close the Logic App Designer.
Enable the Logic app and monitor you Azure Table to see if data is coming in. A table is best monitored with the Azure Storage Explorer
The results
Over the evening my logic app pulled in 27.000 tweets and ran them through the workflow. In the report below we see that the average sentiment is 0.7 and that 57% is Happy, meaning a higher sentiment then 0.6.